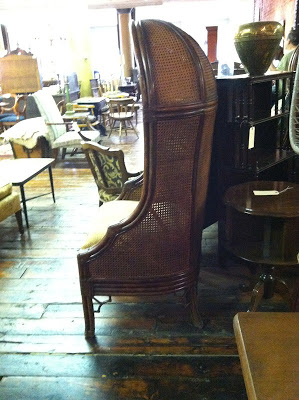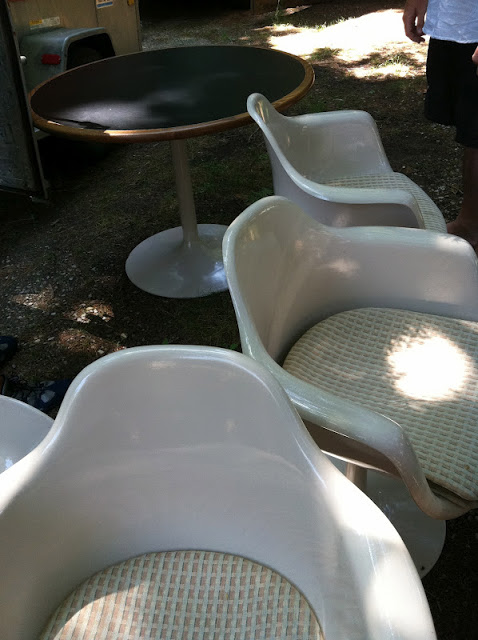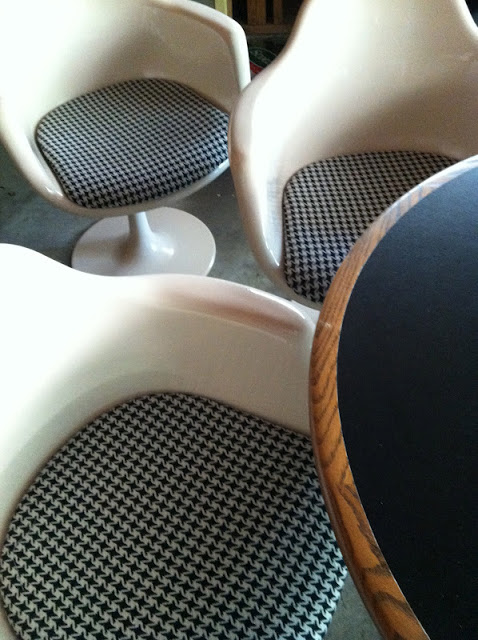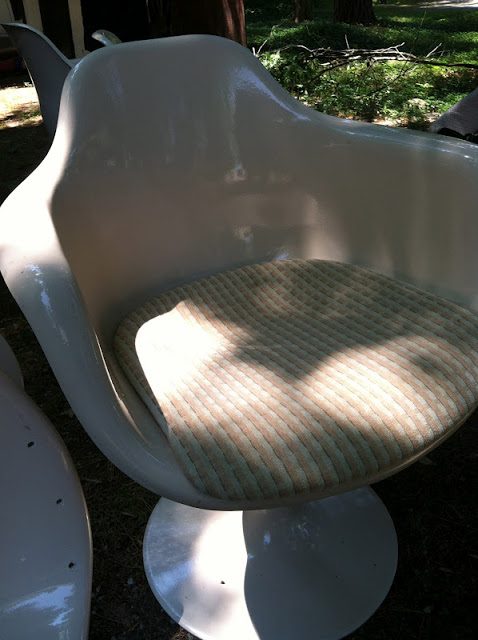
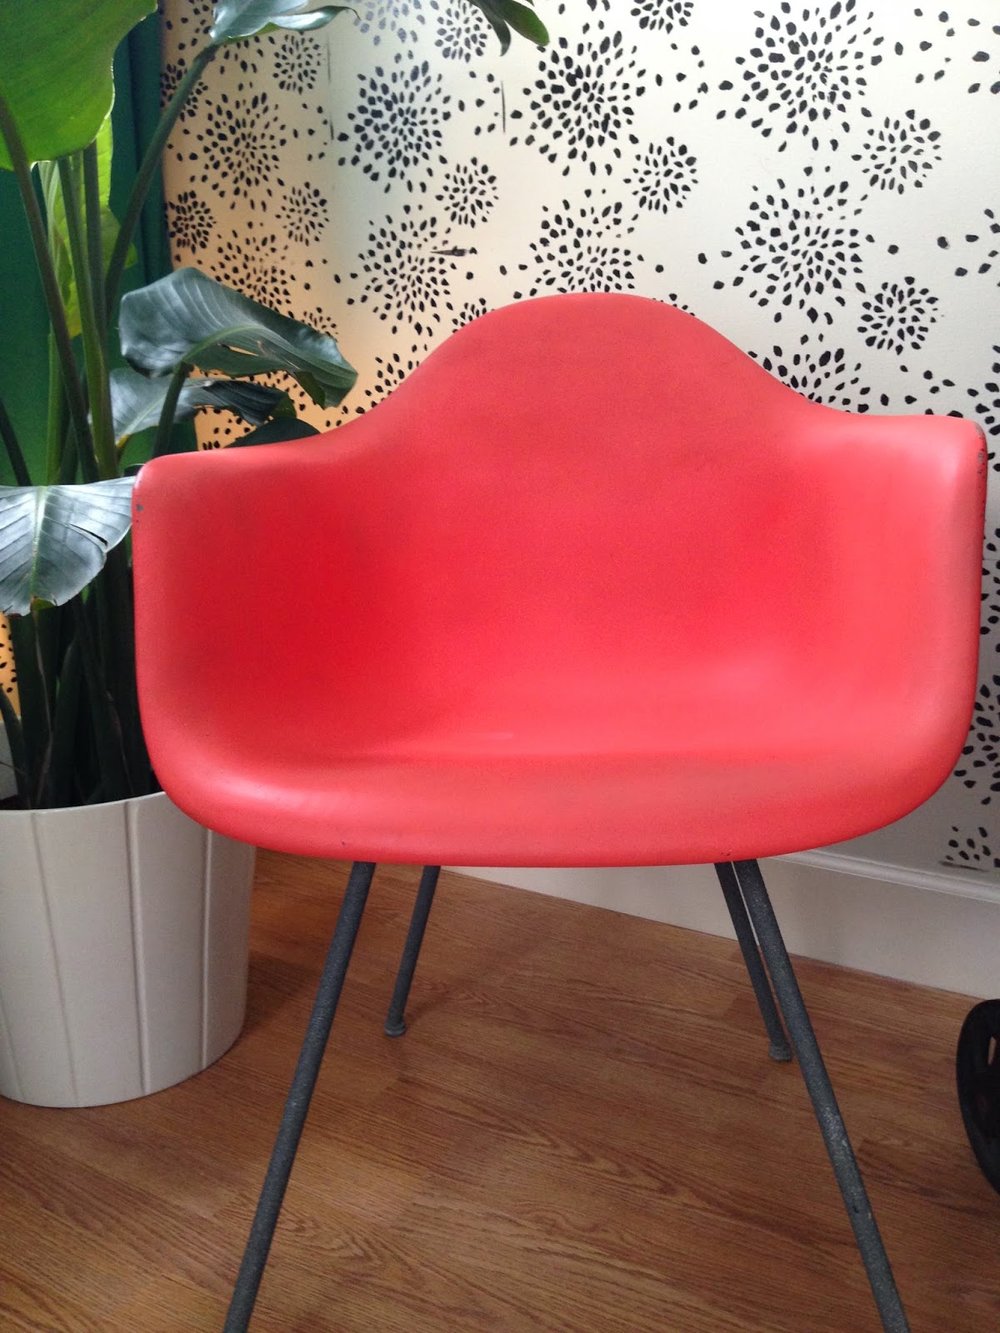
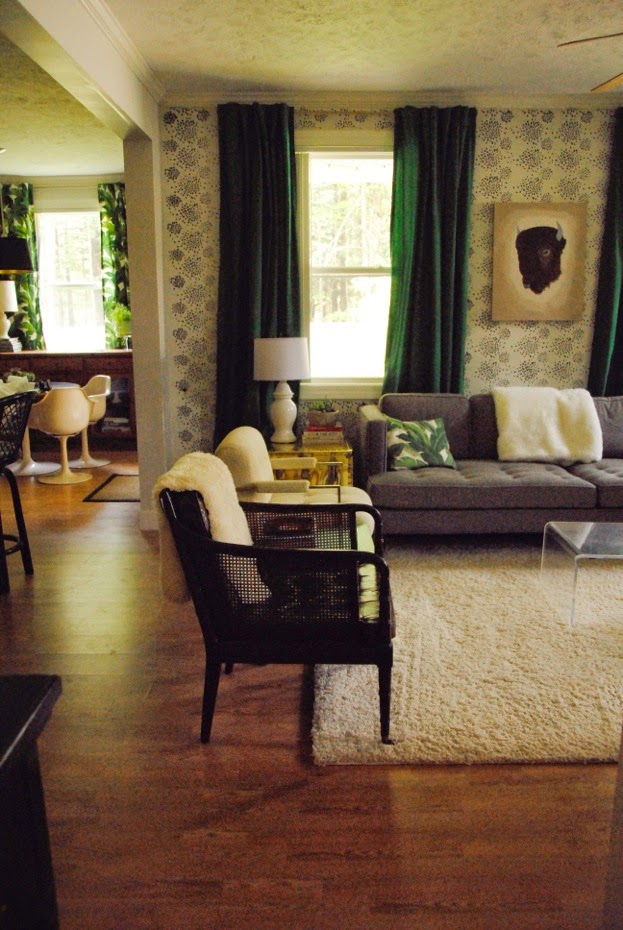
I bought this chair, and immediately had buyers remorse. Because I paid $5. And thought I should have paid $2. That's how crazy good and cheap the Watertown Mission Thrift shop was. The prices and selection over the last year and a half have ruined me for all other thrift/antique shops. Their prices have recently undergone a HUGE inflation for them, so all of us that were used to the 'good old days' have to try to re-adjust :)
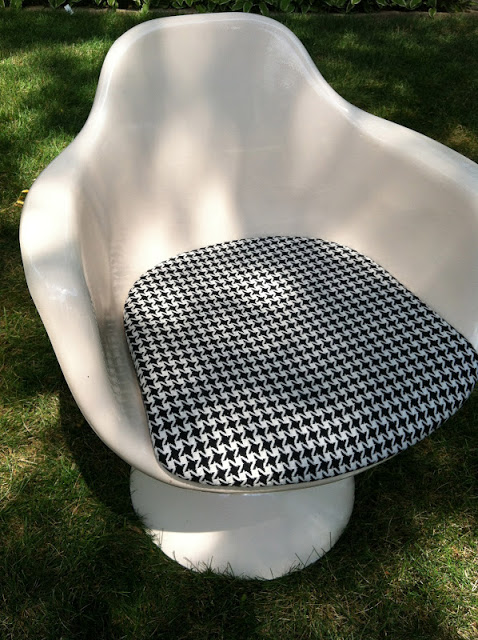
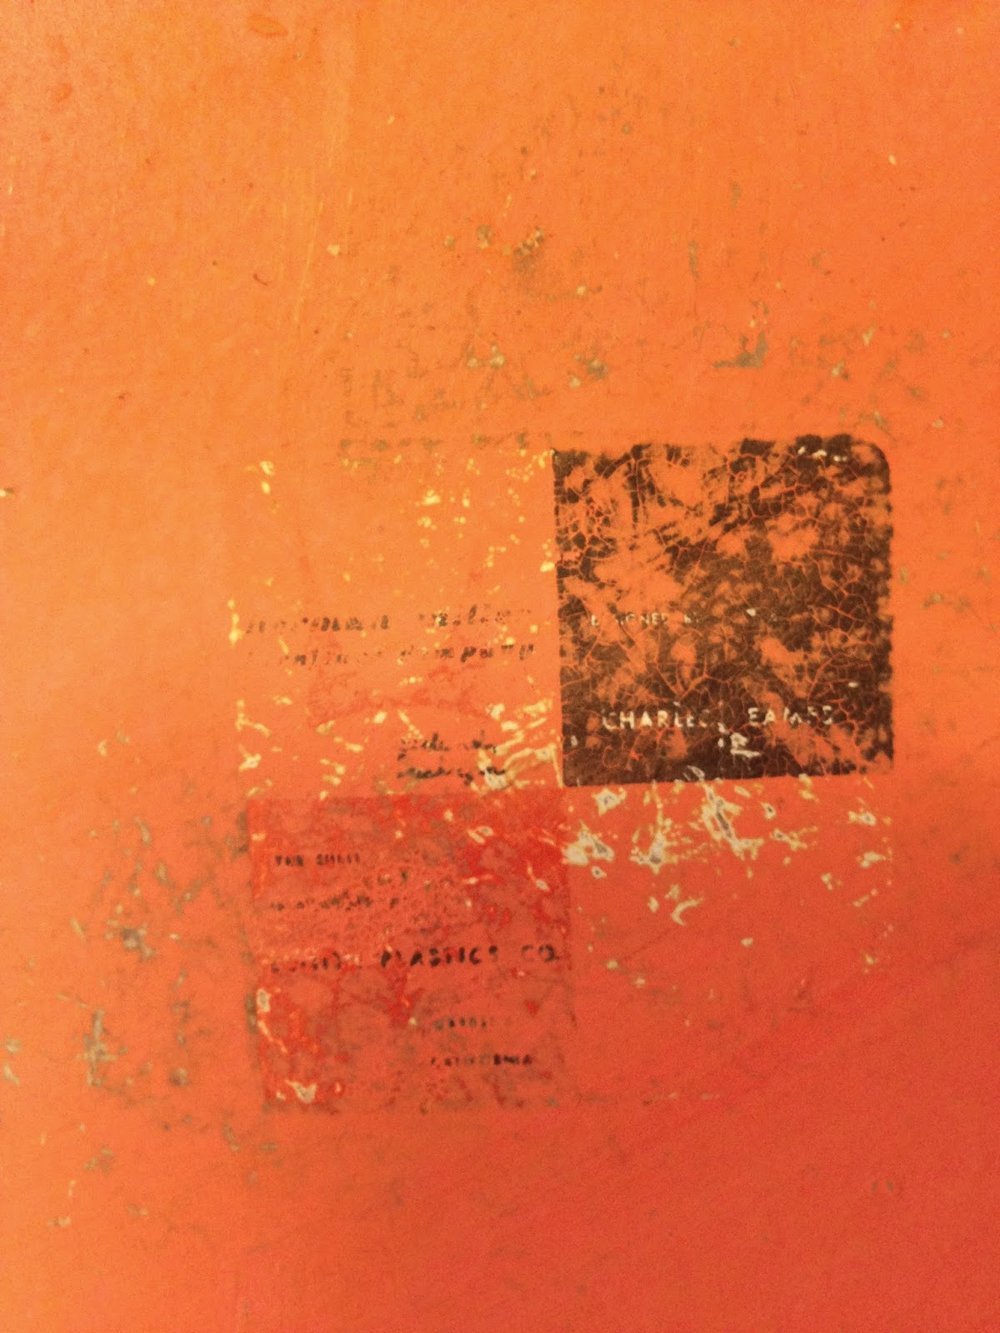
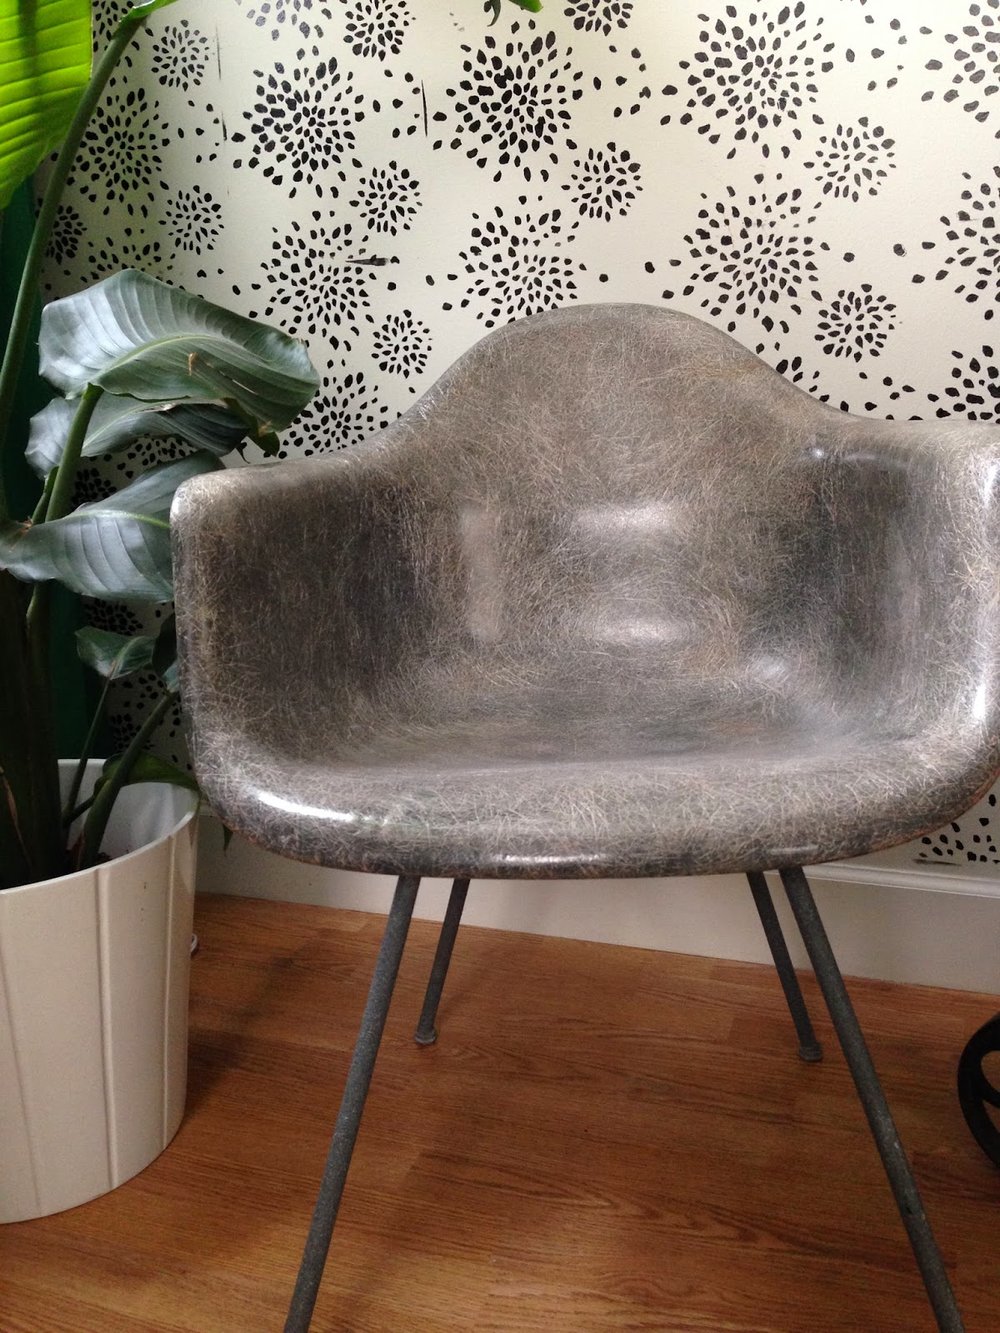
I kept the chair around for a while, and then chastised myself for another random chair purchase, and it was during Lent, and I was purging, so I talked myself into listing it on CL. The moment I listed it, I had a sinking feeling that I needed to check the chair to ensure that it was not a 'real-deal' Eames chair. I could see some sort of sticker on the bottom that had been sprayed over, so with a very fine sand paper, I knocked the orange paint off. I quickly got up to speed on what I should be looking for and I lucked out...real deal. Next stop - remove from craigslist and apologize to interested party for changing my mind!
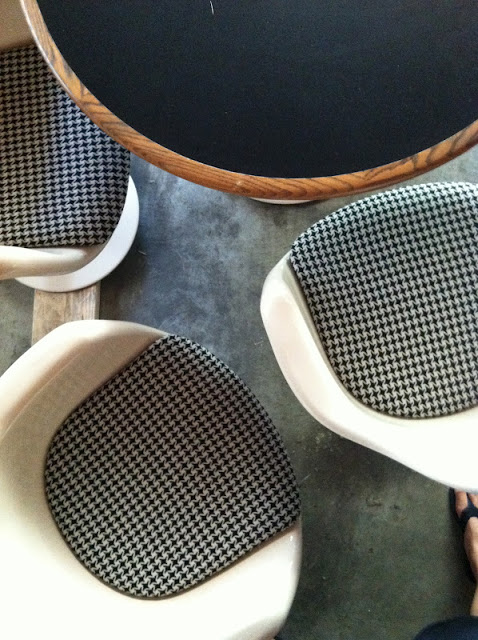
And to think, I was mad that I paid $5 instead of $2.
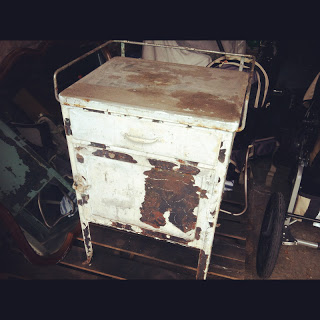
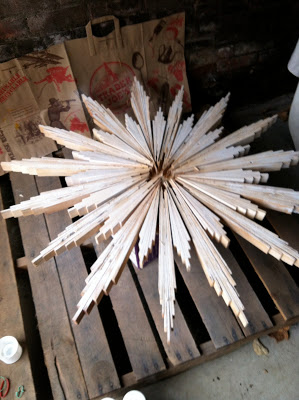
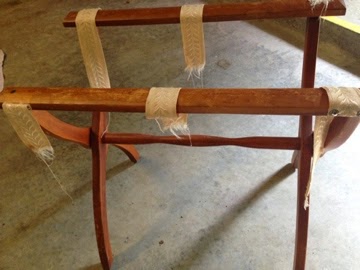
The chair had clearly received a poor quality spray paint job.
I kept the chair around for a while, and then chastised myself for another random chair purchase, and it was during Lent, and I was purging, so I talked myself into listing it on CL. The moment I listed it, I had a sinking feeling that I needed to check the chair to ensure that it was not a 'real-deal' Eames chair. I could see some sort of sticker on the bottom that had been sprayed over, so with a very fine sand paper, I knocked the orange paint off. I quickly got up to speed on what I should be looking for and I lucked out...real deal. Next stop - remove from craigslist and apologize to interested party for changing my mind!
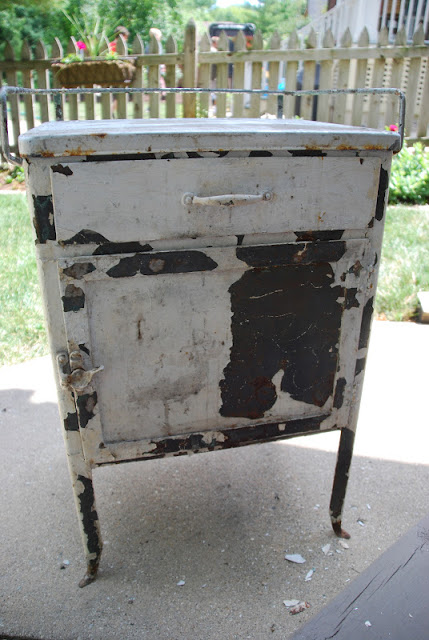
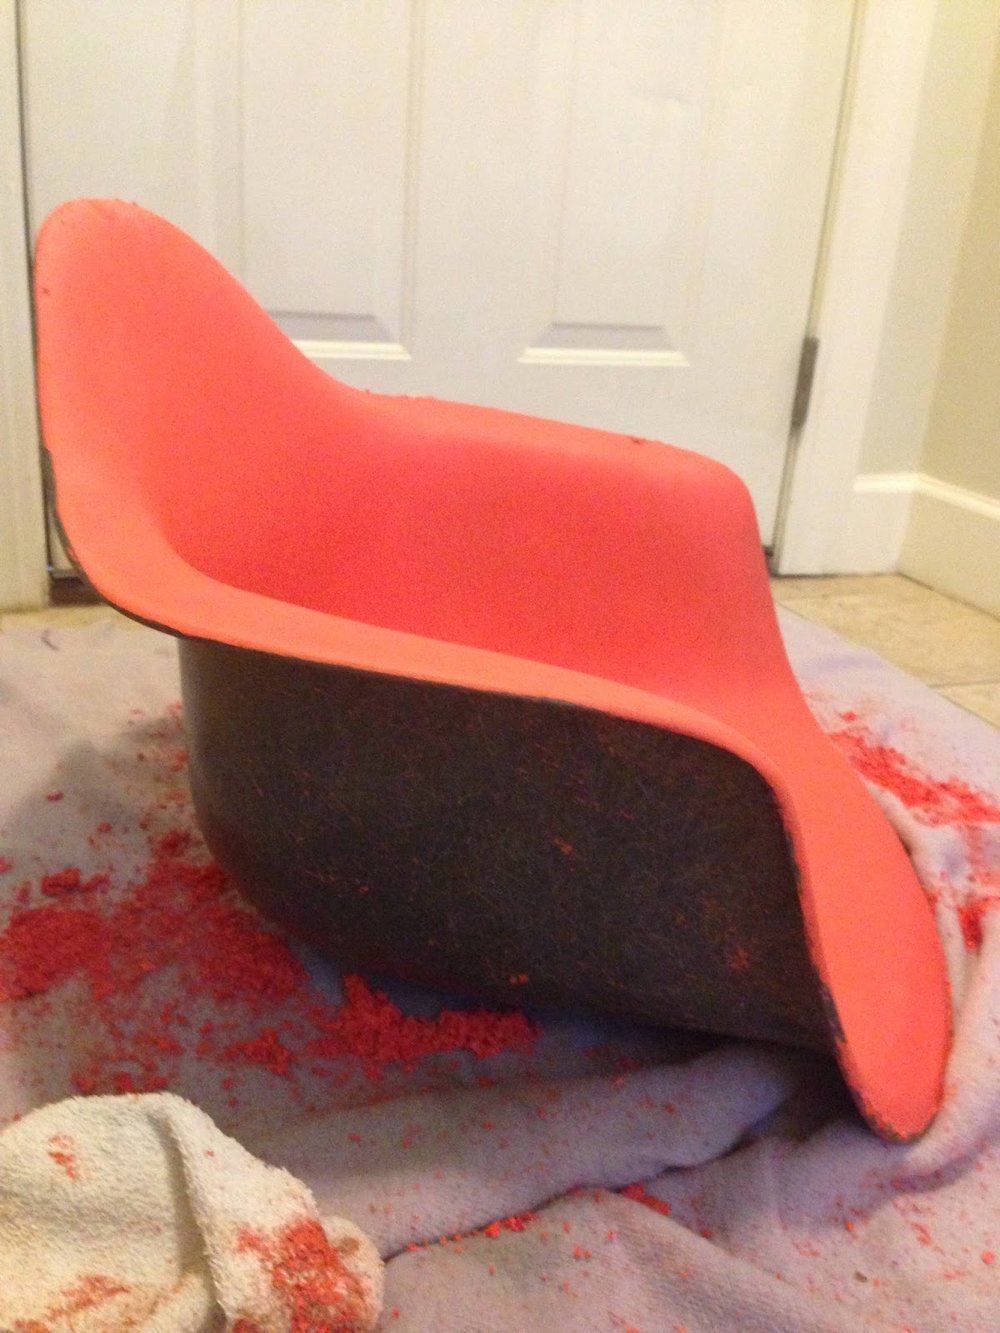
I wasn't sure of the best way to restore the chair to its former glory, so i decided to try some Citristrip. I tested a small portion...and thankfully, it did the job.
It took a lot of Citistrip...
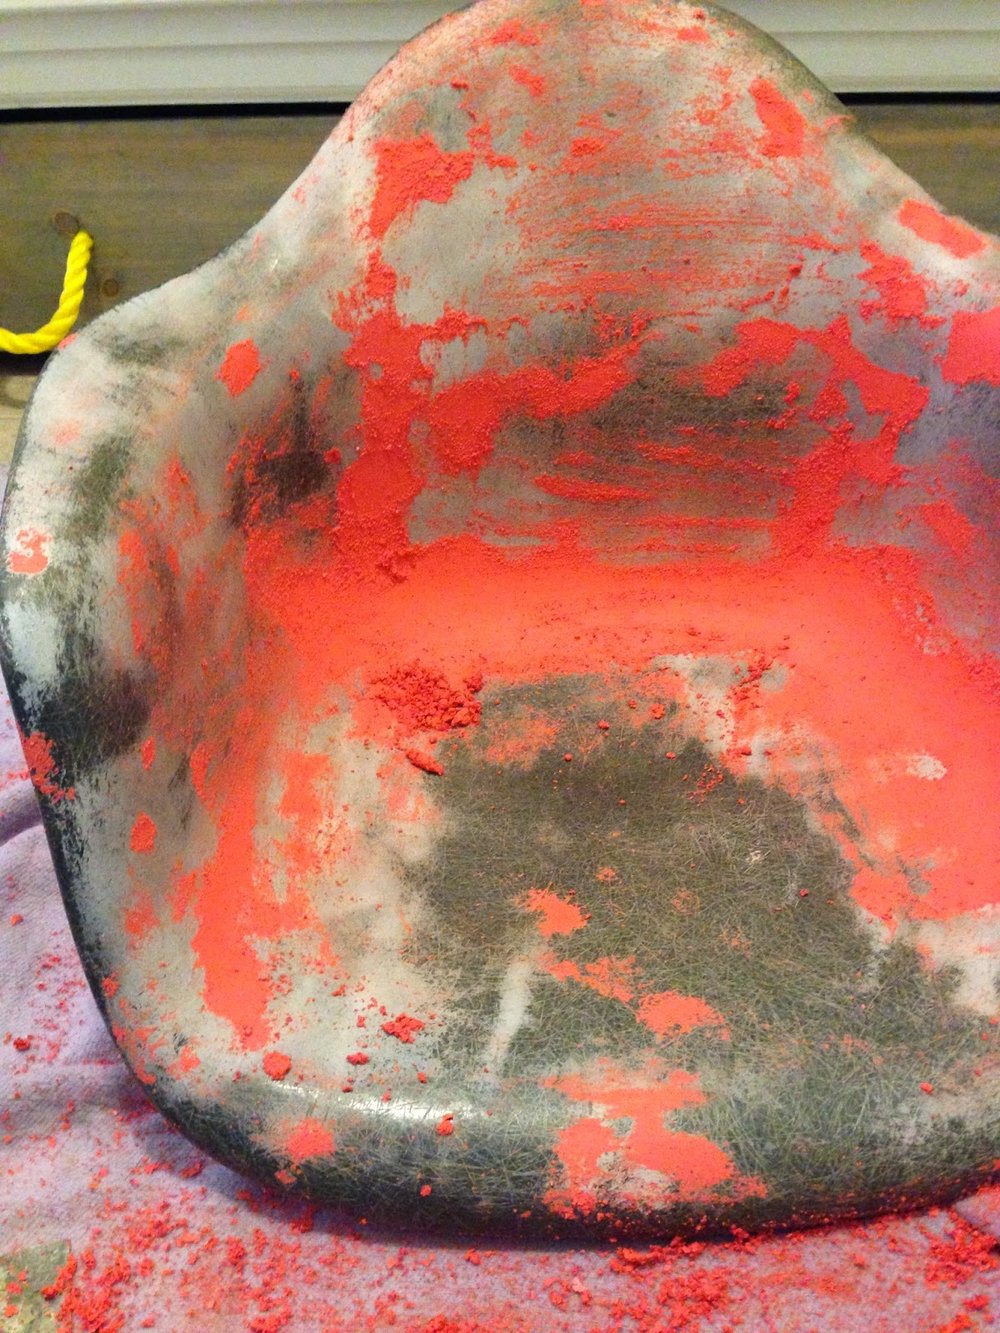
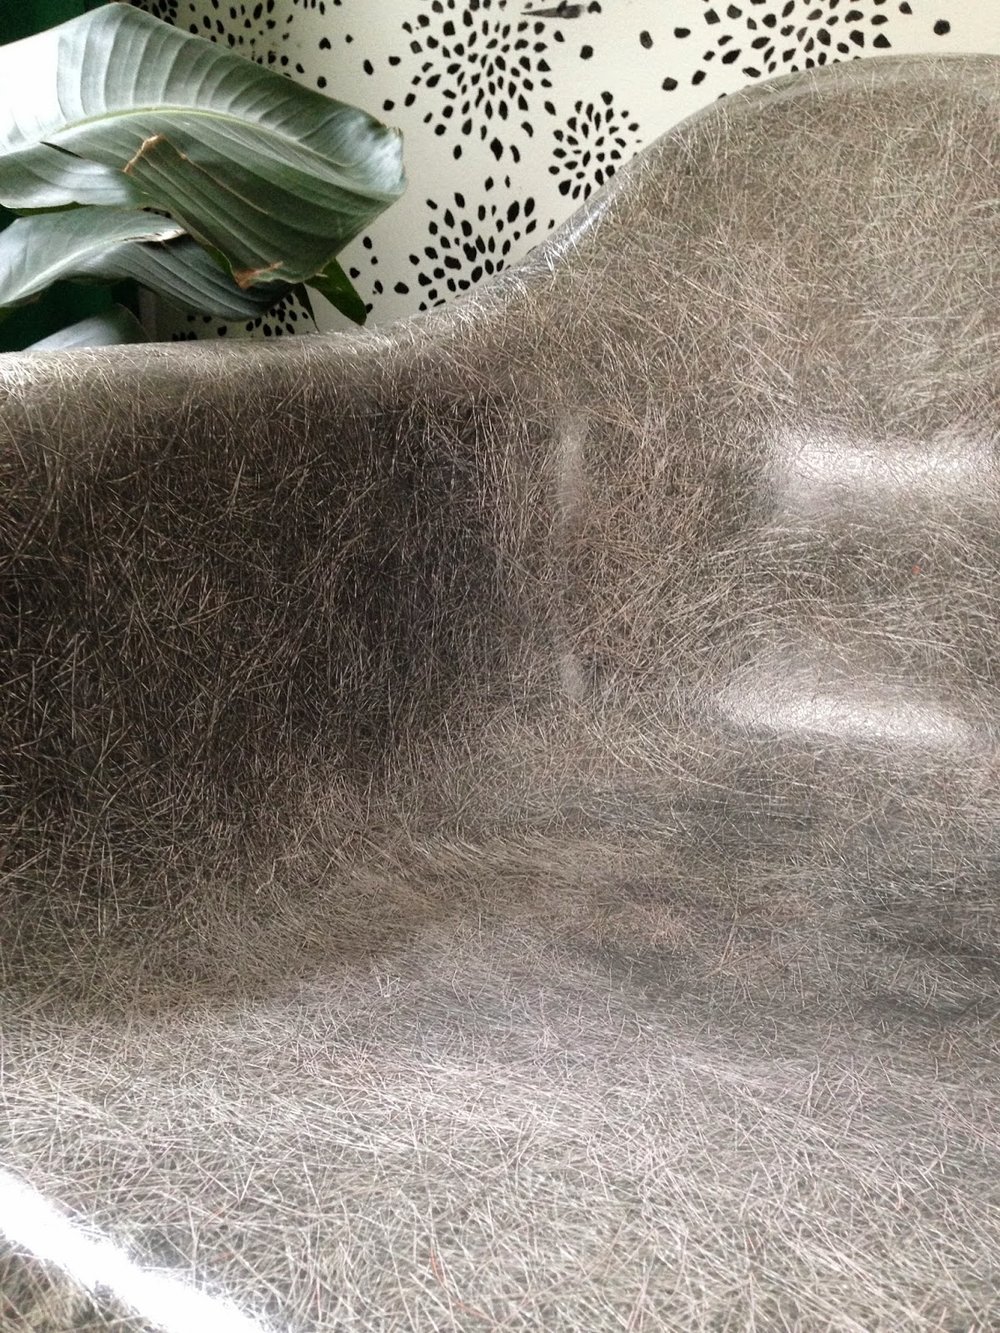
What a change from the matte paint job!
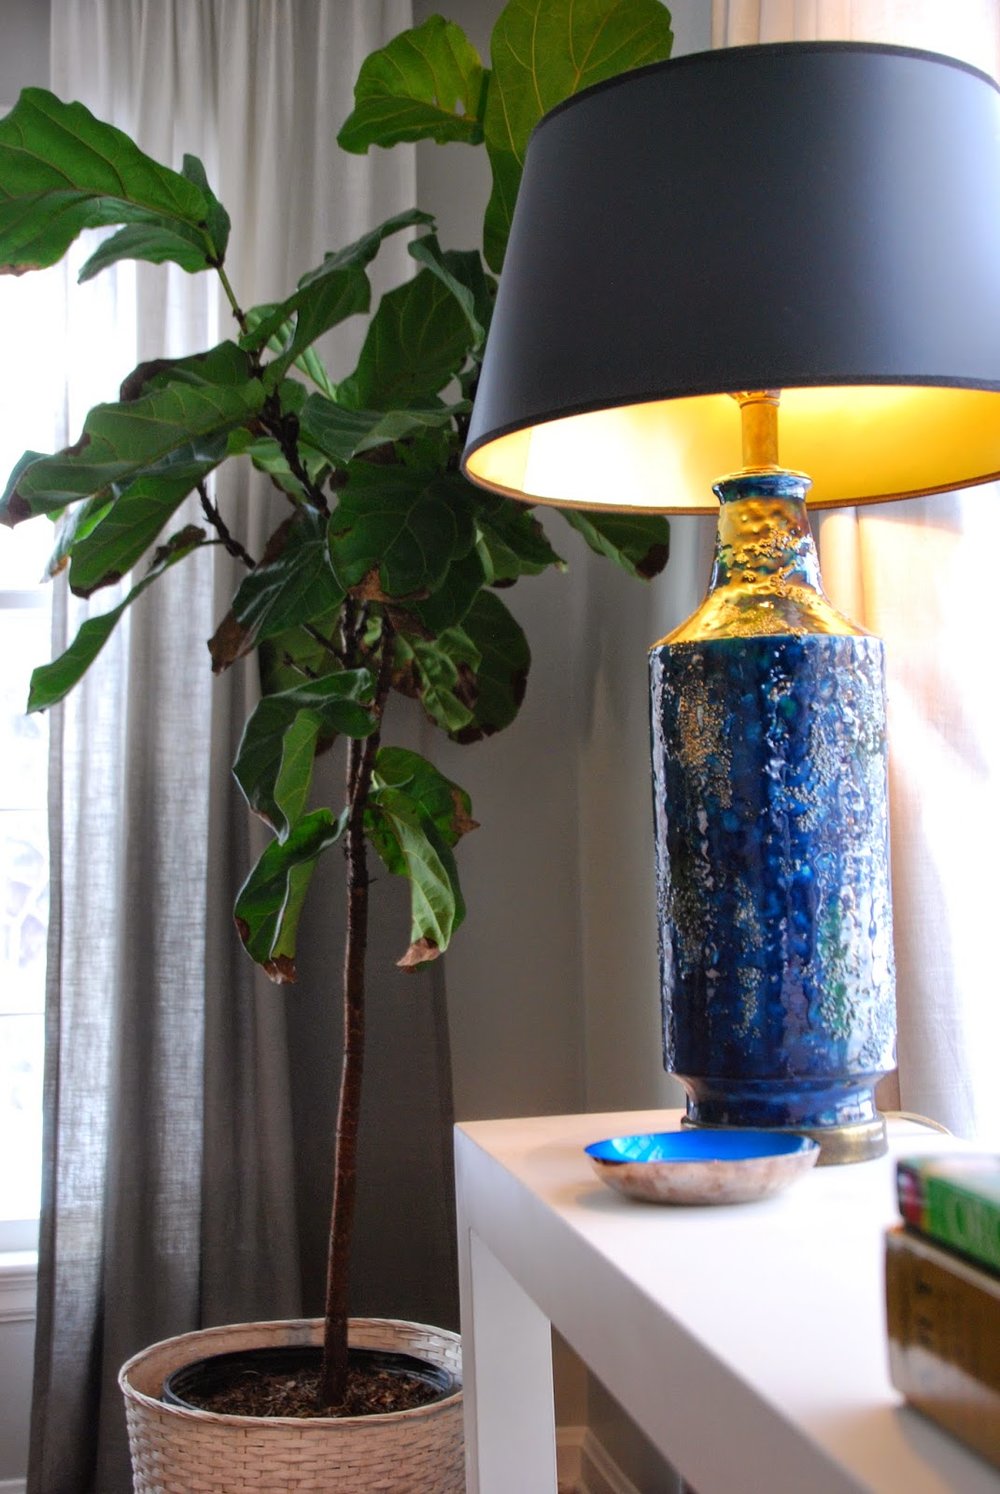
I love the filament running through the 'elephant hide grey' design...
And to think, I was mad that I paid $5 instead of $2.


.jpg&container=blogger&gadget=a&rewriteMime=image%2F*)

.jpg&container=blogger&gadget=a&rewriteMime=image%2F*)